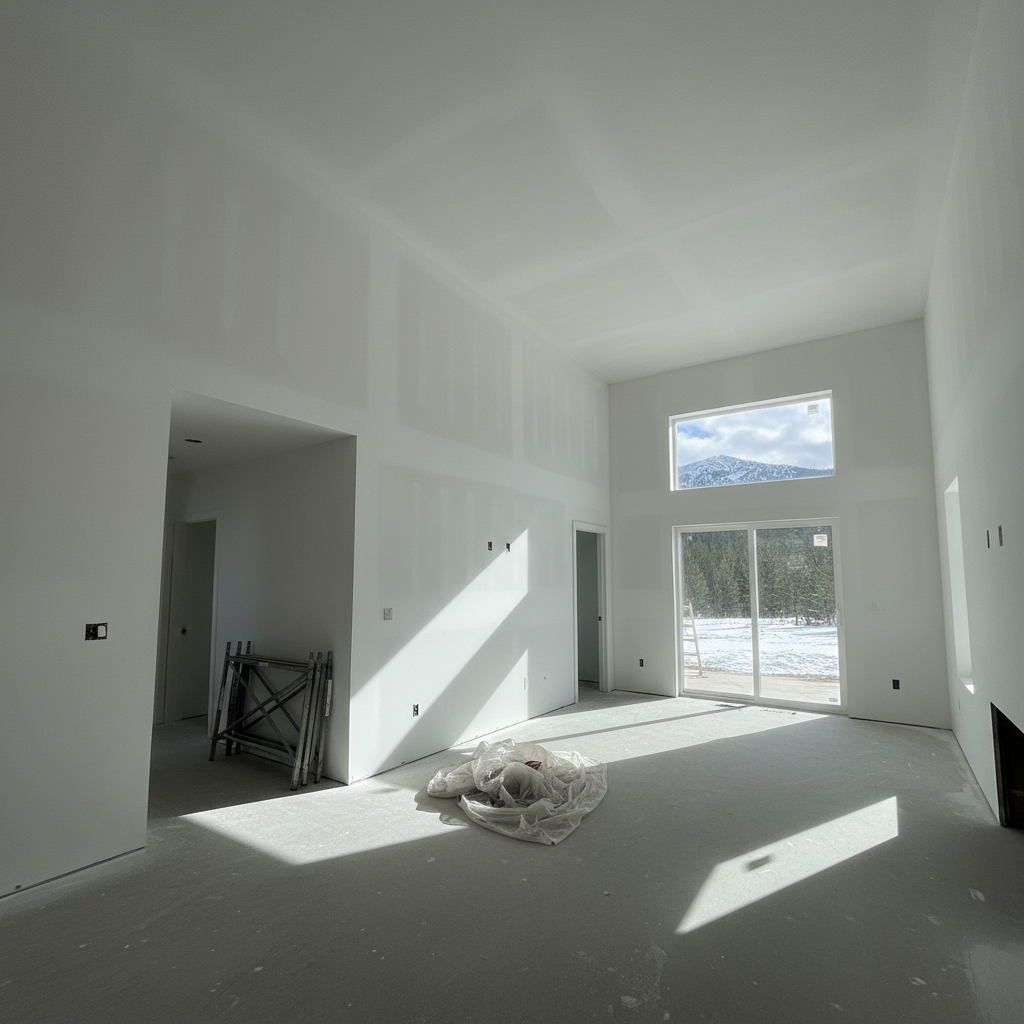
So, you've just put up new drywall, or maybe you've finished some repairs, and now it's time to prime. This isn't just a quick coat of paint, you know; it's a really important step that gets everything ready for your final wall color. If you skip it, or do it wrong, you'll definitely regret it. Trust me, I've seen plenty of paint jobs that looked fantastic for a week, then suddenly every seam and patch started showing through because the priming wasn't done right.
How Long Will Your Drywall Priming Project Take?
Let's talk about the clock. You're probably itching to get some color on those walls, but you really need to be patient here. First things first, all the drywall installation and finishing — that's taping, mudding, and sanding — has to be completely finished and dry. And I mean bone dry. Here in McCall, especially when it's colder or wetter, that can take a lot longer than you might expect. Our mountain air, particularly when it's damp or chilly, really slows down how fast joint compound dries. If you rush it, you're just trapping moisture, and that's a recipe for big problems down the road.
Once the drywall is totally cured and sanded smooth, the actual priming itself usually goes pretty fast. For an average room, we're talking about a day, maybe two for a bigger area or multiple rooms, depending on how many coats you need. You'll want to let the primer dry for a few hours between coats, and then give it another 24 hours or so before you put on your finish paint. Don't rush this part either. Good primer needs to cure properly to do its job, after all.
What Happens During the Priming Process?
When the crew shows up, they aren't just slapping paint on the walls. There's a real method to it. First, they'll do one last check of the drywall to make sure there aren't any missed spots, dings, or dust. Any last-minute touch-ups will happen right then. After that, it's all about protecting your home. They'll lay down drop cloths, tape off trim, windows, and doors – basically anything that isn't getting primed. This isn't optional; it's absolutely essential for a clean job.
Then comes the primer itself. We usually use a high-quality PVA (Polyvinyl Acetate) primer or a dedicated drywall primer. These primers are made to seal up the porous new drywall and joint compound, creating a nice, uniform surface for your paint. This is what stops 'flashing' or 'ghosting' – you know, when the mud lines show through your finish paint. It also helps your topcoat stick better and look more even. Depending on the surface and the type of primer, it might be one coat, or sometimes two are better, especially if you're going from a dark primer to a light topcoat, or the other way around. They'll use rollers for big areas and brushes for cutting in around edges and corners.
How to Get Your Home Ready for Priming
Your prep work makes a huge difference in how smoothly the project goes. Here's what you need to do:
- Clear the Room: Move all your furniture out of the room if you can. If not, push it to the center and cover it with plastic sheeting.
- Remove Wall Hangings & Fixtures: Take down pictures, mirrors, curtains, and curtain rods. Don't forget to remove those switch plates and outlet covers.
- Clean Up: Give the drywall a good wipe-down or vacuum to get rid of any dust from sanding. This is super important. Primer won't stick to dust.
- Ensure Access: Make sure the crew can easily get to all the walls and ceilings. Don't block doorways or pathways.
- Ventilation: Plan for good airflow. Open windows if the weather permits, or be ready to use fans. Primer fumes aren't exactly pleasant, and good air movement helps things dry faster.
Seriously, the cleaner and emptier the space, the faster and better the crew can work. It also means there's less chance of your stuff getting primer on it, which is always a plus.
Questions to Ask Before Signing a Contract
Before you commit to anyone, ask these questions. You want to make sure everyone's on the same page and that you're hiring a pro who really knows their stuff.
- What kind of primer do you typically use for new drywall? And why that one?
- How many coats of primer do you recommend for my project, and what's the reasoning?
- What's your plan for protecting my floors and any surfaces that aren't getting primed?
- How do you make sure the drywall surface is clean and dust-free before you start priming?
- What's your timeline for finishing the priming phase?
- Do you handle any final touch-ups or repairs to the drywall before priming, or should that be done beforehand?
- How long does the primer need to dry between coats, and before I can apply the finish paint?
- Can you give me references from other homeowners in McCall you've done similar work for?
- Is New Look Drywall insured and licensed to work in Idaho? (Always ask this, no matter who you're hiring!)
Getting these answers upfront will save you a lot of headaches later on. A good contractor, like us at New Look Drywall, will be happy to walk you through all these details. We want you to feel confident in the process and absolutely love your finished walls. Priming isn't the flashy part of a renovation, but it's the foundation for a beautiful, lasting paint job. Don't skimp on it.