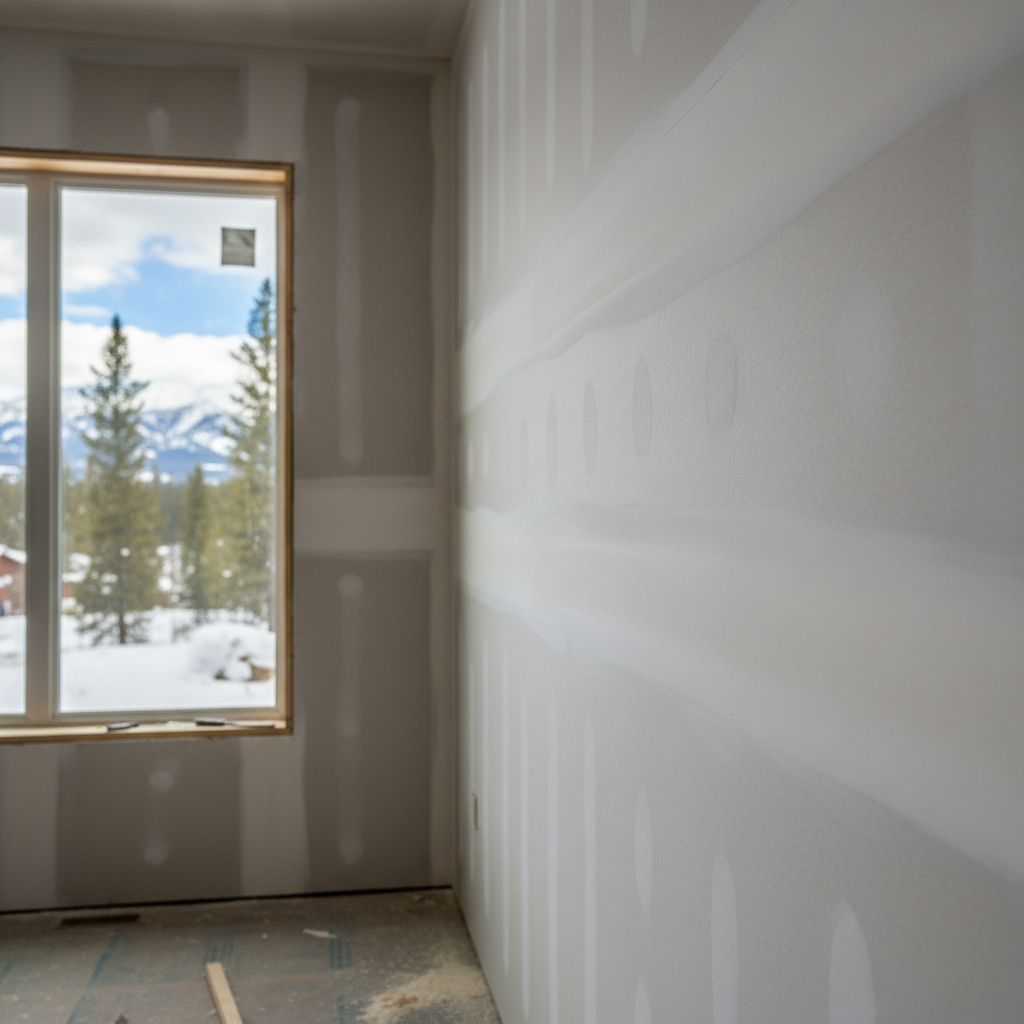
Alright, let's talk drywall installation. I get a lot of folks in McCall asking me about this, especially when they're doing a remodel or finishing a basement. It looks simple enough, right? Big sheets, screws, mud, paint. How hard can it be? Well, it's not rocket science, but there's a huge difference between 'installed' and 'installed well'.
Before You Even Think About Cutting a Sheet
Planning is everything. You wouldn't build a house without a blueprint, and drywall's no different. First, measure your space carefully. Like, *really* carefully. Know your ceiling height, wall lengths, and account for every window and door opening. This helps you figure out how many sheets you'll need and minimizes waste. Remember, drywall comes in different thicknesses – usually 1/2 inch for walls and 5/8 inch for ceilings (especially if you're spanning wider joists or need more fire resistance). Don't just grab the cheapest stuff; think about where it's going.
Next, consider your framing. Is it plumb, level, and square? If your studs are wavy or your ceiling joists are bowed, that drywall isn't going to sit flat, and you'll be fighting it every step of the way. You'll end up with shadows and cracks later on. Trust me, fixing bad framing before drywall goes up saves you a world of pain and money down the line. This is one of those "before" steps where a pro can spot issues you might miss.
Think about the logistics too. Getting 12-foot sheets of drywall into a small room, especially up a flight of stairs in some of those tight cabins up near Payette Lake, is a real challenge. Do you have the right tools? A utility knife, T-square, drywall saw, screw gun, and a good measuring tape are just the basics. You'll also need stilts or a bench for ceilings, and a drywall lift if you're working alone on ceilings.
During the Installation: DIY vs. Pro Reality Check
Okay, you've got your materials, your tools, and a buddy (you'll need one, trust me). Now for the actual hanging. Here's where the rubber meets the road.
What you can realistically DIY:
- Small, simple areas: A closet, a small patch, or a straightforward rectangular wall in a garage. If it's just a few sheets and no tricky cuts, you can probably handle it.
- Basic cuts: Straight cuts for length and width are pretty easy once you get the hang of scoring and snapping.
- Screwing: Attaching the sheets to the studs isn't hard, just make sure your screws are recessed slightly without breaking the paper.
When to call in New Look Drywall (or another good pro):
- Ceilings: These are a beast. Heavy sheets, working overhead, getting those seams tight. It's tough, and if you mess it up, it's really obvious. Plus, if you're not used to working overhead, your neck and shoulders will hate you.
- Large areas or whole rooms: Speed and efficiency matter here. We can hang a room in a fraction of the time it'd take a homeowner, and we'll do it with fewer mistakes.
- Complex cuts: Around windows, doors, electrical boxes, arches, or angled walls. Getting these right takes practice and specialized tools. Bad cuts mean bigger gaps, which mean more mud, more sanding, and a higher chance of cracking later.
- Fire-rated drywall: If you're dealing with a garage wall shared with living space or specific code requirements, you need fire-rated (Type X) drywall installed correctly, often with specific screw patterns and taping. Don't guess here.
- Soundproofing: If you're using sound-dampening drywall or multiple layers, the installation needs to be precise to actually work.
- If you value your sanity: Seriously, drywall is dusty, heavy, and repetitive. It's not for everyone.
One thing I see a lot around McCall, especially in older homes or additions, is uneven framing. The studs might be twisted or not perfectly aligned. A good drywall hanger knows how to 'shim' or 'fur out' these areas to create a flat surface. You won't even notice it when we're done, but it makes a huge difference in the final look.
After the Sheets Are Up: What's Next?
So, you've got all your sheets screwed in. Great! Now comes the finishing, which is a whole other ballgame. Taping, mudding, sanding – that's where the real skill comes in. You can hang drywall decently, but if your finishing isn't top-notch, the walls will look amateurish no matter how well the sheets went up.
If you've managed to hang the drywall yourself, you might consider tackling the first coat of mud, just to get a feel for it. But for a truly smooth, paint-ready finish, especially if you're aiming for a Level 4 or Level 5 finish, that's almost always a job for a professional. We've got the tools, the experience, and the eye for detail to make those seams disappear. Trying to sand out every ripple and hump can be incredibly frustrating and create more dust than you've ever imagined.
My advice? If you're comfortable with basic carpentry and have a small, straightforward area, go for it. You'll learn a lot. But for anything beyond that, especially ceilings or rooms you want to look truly professional, save yourself the headache and call in the pros. We do this every day, and we'll get it done right, so you can enjoy your beautiful new walls without the backache.