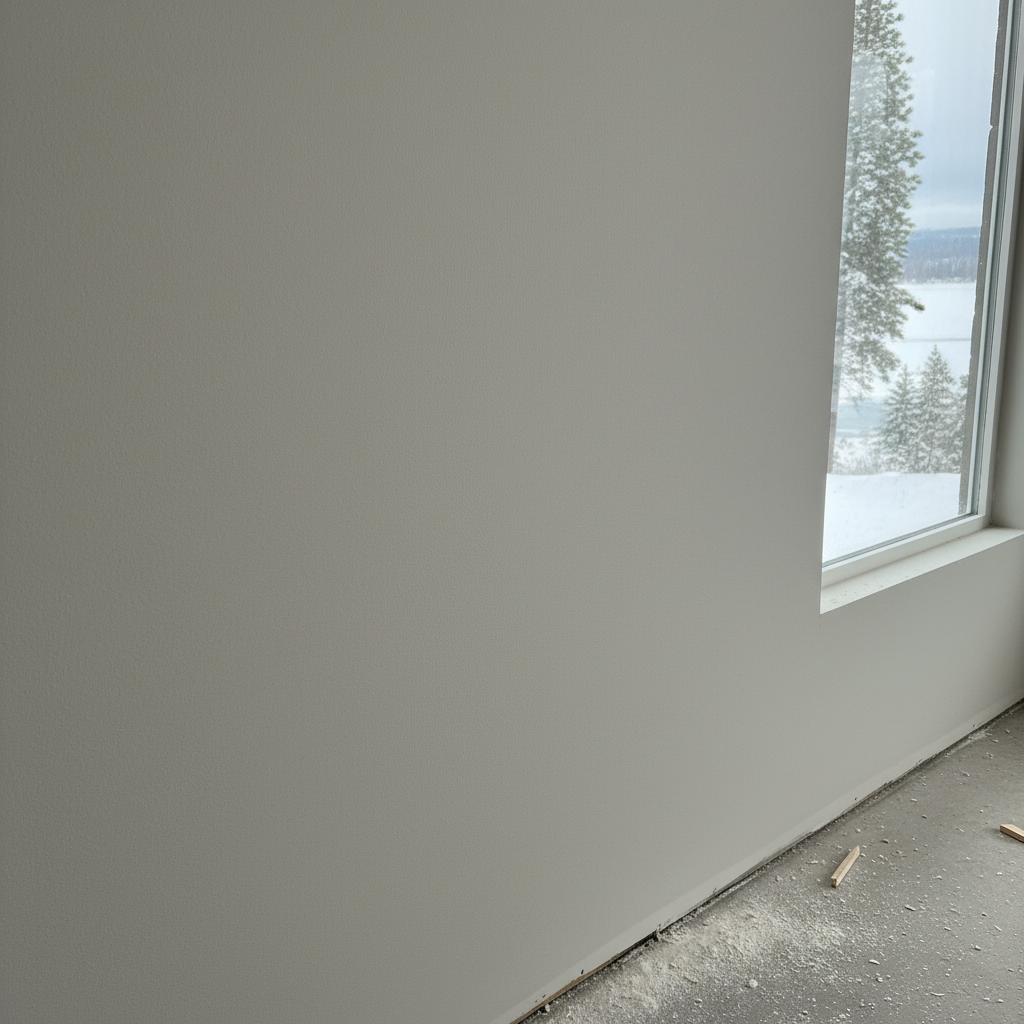
What's the big deal about drywall finishing, anyway? It's more than just slapping some mud on the seams; it's a real craft, and it's what makes your walls look good, or, well, not so good. I get a ton of questions from folks all over McCall, especially those building new homes up in Spring Mountain or fixing up older cabins down by the lake. So, let's dig into some of the most common things people ask me about getting that perfect finish.
What are the different levels of drywall finish?
This is probably the question I hear most often, and it's super important to grasp because it pretty much decides both the final look and the cost. There are six levels, running from 0 to 5. Most residential jobs usually shoot for Level 4 or Level 5.
- Level 0: This is just drywall sheets hung on the studs. No finishing at all. You'd really only ever see this in temporary construction or if you're just storing materials.
- Level 1: Here, the joints have tape embedded in joint compound. The compound isn't smoothed out much, and you'll definitely see tool marks. You'd typically use this in places like attics, service corridors, or areas above a finished ceiling where nobody's going to see it.
- Level 2: All joints get embedded tape, and then a thin coat of compound goes over all the fasteners. This is for spots that will be covered by tile, like a bathroom wall behind a shower, or inside garages.
- Level 3: Tape's embedded, fasteners are covered, and then a second coat of compound goes on the joints and fasteners. This is a pretty common choice for surfaces that are going to get a heavy texture, maybe a skip trowel or stomp texture. It's just not smooth enough for paint without that texture.
- Level 4: This is the go-to standard for most painted walls and walls with light textures. All joints and fasteners get three coats of compound, and then the surface is sanded smooth. You'll end up with a nice, flat surface for paint, but you might still catch minor imperfections under really bright, critical lighting or with high-gloss paint.
- Level 5: This is the absolute best finish you can get. It's Level 4, but then we add a very thin skim coat of joint compound (or sometimes a special skim coat product) over the whole drywall surface. This gets rid of all those tiny imperfections and gives you a super uniform surface for paint, which is especially key for dark colors, high-gloss paints, or areas with tricky lighting. It's as smooth as it gets.
What's the difference between 'all-purpose' and 'lightweight' joint compound?
Good question. Both types get the job done, but they're really for different stages and have different qualities. All-purpose mud, sometimes called 'heavyweight,' is thicker and shrinks more. It's fantastic for embedding tape and for those first fill coats because it's so strong. It's durable and builds a solid base. Lightweight mud, on the other hand, is easier to sand, shrinks less, and, well, it's lighter. I personally use it for the top coats and skim coats. It helps you get a smoother finish with less sanding effort, which is a huge deal when you're tackling an entire house. You definitely wouldn't want to use lightweight for embedding tape; it just doesn't have the strength.
How long does drywall mud *really* take to dry in McCall's climate?
Ah, the classic McCall climate question! This is where local conditions truly make a difference. The manufacturer's instructions on the bucket usually say 24 hours between coats, but that's for perfect conditions—think 70 degrees Fahrenheit and 50% humidity. Here in McCall, especially during winter, it can be much drier, which might actually speed things up. But if you're working in a new build that isn't fully heated yet, or during a humid summer week, it can take way longer. I've seen a thick coat take 36-48 hours to fully cure if the air isn't moving well. Don't rush it, seriously. Putting a new coat over mud that's still damp is just asking for cracks and other problems down the road. Good airflow and a consistent temperature are your best friends here. Sometimes, I'll even run a fan to keep the air circulating, but never directly on wet mud—that can make it dry too fast on the surface and crack underneath.
Why do I see 'flashing' or 'ghosting' through my paint?
This usually pops up with a Level 4 finish, especially if you're using a low-sheen paint. Flashing or ghosting happens because drywall paper and joint compound soak up paint differently. The compound is denser and less porous than the paper, so it takes the paint differently, making the finished seams look shinier or duller than the surrounding drywall. It's like the seams are 'flashing' right through the paint. The best way to stop this is by using a good quality primer, specifically one made for drywall, that creates an even surface for the topcoat. For a truly seamless look, though, a Level 5 finish with a skim coat over everything is your best bet. That uniform surface guarantees consistent paint absorption across the entire wall.
Do I really need to prime after finishing drywall?
Absolutely, yes. I cannot stress this enough. Priming isn't just about saving a little paint; it's essential for a professional-looking finish. As I just mentioned, drywall paper and joint compound are different materials, and they absorb paint differently. Primer seals the surface, evening out the porosity across the whole wall. This prevents flashing, ensures consistent color and sheen, and gives you a much better final result. It also helps the topcoat stick better, making your paint job last longer. Skipping primer is a shortcut that almost always leads to disappointment. New Look Drywall always primes; it's just part of doing the job right.
What's the deal with 'setting-type' joint compounds (hot mud)?
Setting-type compounds, often called 'hot mud,' are different from drying-type compounds. Drying-type mud, well, it dries as the water evaporates. Hot mud, on the other hand, sets through a chemical reaction, kind of like plaster. The big perk here is speed. It can set in 5, 20, 45, or 90 minutes, depending on the type you pick up. This is fantastic for quick repairs, filling deep holes, or when you need to get several coats on in a single day. It's also much harder and more durable once it's set, and it shrinks less. The downside? Once it starts to set, you can't work with it anymore, so you have to mix small batches. It's also harder to sand than drying-type compounds, so we usually use it for those initial fill coats, and then top it with a drying-type mud for easier finishing.