So, you've got new drywall sheets up, or maybe you've patched a big hole. Now you're probably staring at those seams and screw heads, wondering how on earth to make them all disappear. Drywall finishing, often called 'mudding and taping,' is where the real magic happens. It's also where a lot of DIYers get completely stuck, or even worse, make a real mess.
I see it all the time here in McCall. Folks are handy, sure, they can hang the board no problem. But then they try to finish it, and suddenly their walls look like a relief map of the Rockies. Don't get me wrong, I appreciate the gumption, truly. But there's a real art to getting a smooth, paint-ready finish. Let's break down what you can realistically tackle yourself and when you should probably just pick up the phone.
Before You Even Think About Mud
First off, make sure your drywall hanging is rock solid. If the sheets aren't tight, if there are big gaps, or if screws are sticking out, you're fighting an uphill battle from the start. No amount of mud will fix poorly hung board, believe me. Check all your screws – they should be just below the surface, not tearing the paper. Trim any frayed paper edges. Seriously, take your time here. It makes the finishing process a thousand times easier, no exaggeration.
Gather your tools. You'll need:
- Drywall joint compound (mud) – all-purpose is fine for most DIY jobs.
- Drywall tape – paper tape for seams, mesh tape for patches or repairs.
- Taping knives (6-inch, 10-inch, 12-inch are good starting points).
- Mud pan.
- Sanding pole and sandpaper (medium and fine grit).
- Dust mask, safety glasses.
- Good lighting – a bright work light angled across the wall helps you really see imperfections.
And for goodness sake, protect your floors and anything you don't want covered in dust. Drop cloths are your very best friend. Mud and dust get everywhere, especially if you're sanding in a small room.
The Taping and First Coat: Where DIYers Often Struggle
Alright, you've got your tools. Now for the actual work. The goal is to embed the tape and then feather out the mud so it blends seamlessly with the existing wall or ceiling. This isn't about slapping mud on; it's about control and consistency, a delicate touch.
For seams, apply a thin, even layer of mud, then embed your paper tape into it, pressing out any bubbles. Immediately apply a very thin skim coat right over the tape. For screw heads, just a small dab of mud, then smooth it out. Let it dry completely. This is crucial, absolutely do not rush it. Depending on humidity, especially with our dry McCall air, it might dry faster than in a more humid climate, but still give it a solid 24 hours.
This first coat is often where people get frustrated. It's hard to get it perfectly smooth, you'll find. You'll have ridges, bumps, and maybe some tape showing through. That's okay for now. The key is to keep it thin. Thick coats take forever to dry and are much harder to sand later.
Sanding and Subsequent Coats: The Patience Game
Once that first coat is bone dry, it's time for a light sanding. You're not trying to sand it perfectly flat yet, just knocking down the high spots and ridges. Use a medium-grit sandpaper on your pole sander. After sanding, wipe off the dust with a damp cloth.
Now for the second coat. This is where you really start to feather out the edges. Use a wider knife (10-inch or 12-inch) and apply a slightly wider, thin coat over your taped seams and screw heads. The goal is to make the transition from the mud to the bare drywall almost invisible. Let it dry. Sand lightly again, then wipe.
You'll likely need a third coat, sometimes even a fourth, especially on butt joints (where the factory edges aren't tapered). Each coat should be wider and thinner than the last, feathering out further. The more coats you do, the less sanding you'll have to do on the final pass. This is where the pros really shine – they can get it smooth in fewer passes because they've got the touch, that practiced hand.
When to Call a Pro (Like New Look Drywall)
Look, I'm all for homeowners tackling projects. It's rewarding, no doubt. But drywall finishing is one of those things that looks easy but takes a ton of practice to get right. Here's when you should seriously consider calling in New Look Drywall or another experienced pro:
- If you're doing a whole room or house: A small patch is one thing. An entire living room or multiple rooms? That's a huge time commitment, and the learning curve will be steep, trust me.
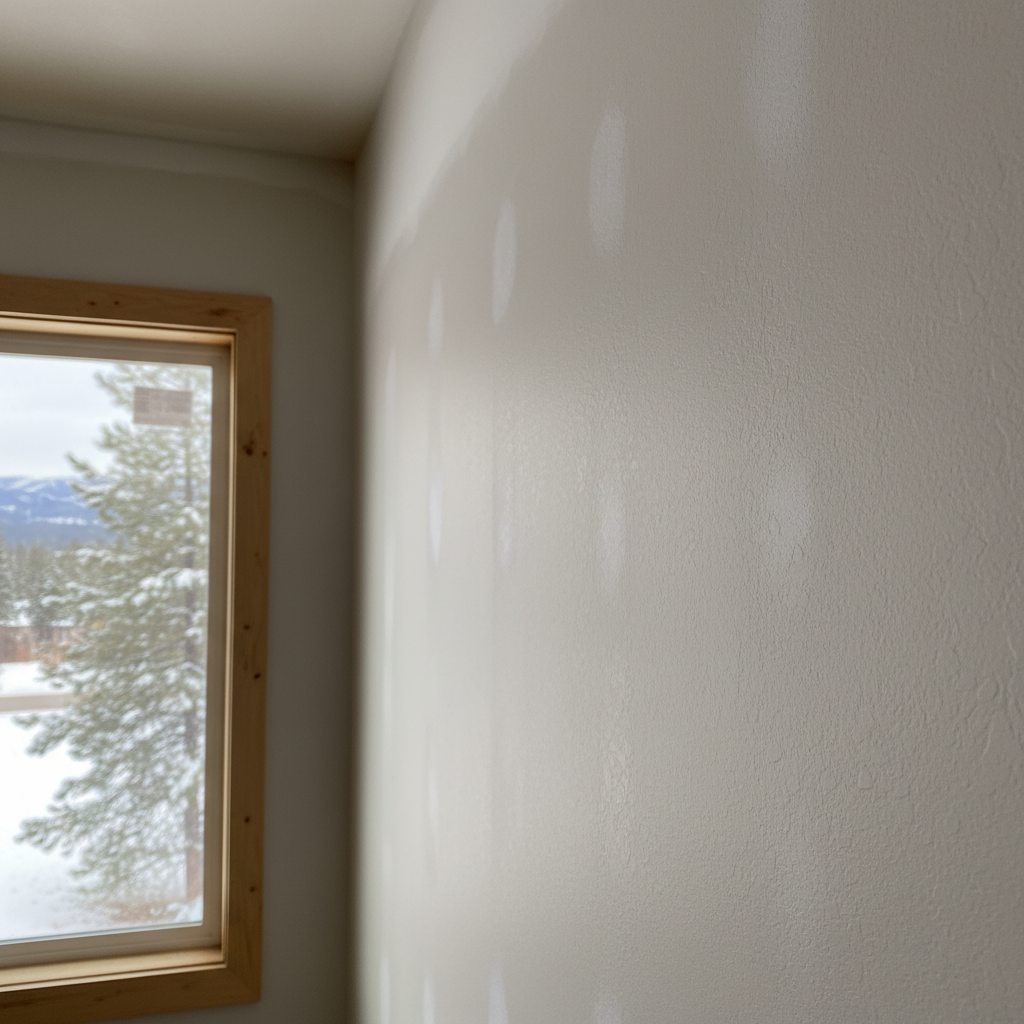
- If you want a Level 4 or Level 5 finish: These are the highest quality finishes, virtually flawless. They're especially important if you're using high-gloss paint or have critical lighting (like big windows that cast light across the wall). Getting this takes years of experience.
- If you've already tried and it looks like a mess: Sometimes, it's better to cut your losses. A professional can often fix a DIY job, but it might actually cost more than if they'd done it from scratch.
- If you hate sanding: And who doesn't, really? It's dusty, tedious, and absolutely crucial for a good finish. If you're dreading that part, let someone else handle it.
- If you're on a tight timeline: Drywall finishing takes time, especially with drying between coats. A pro can often get it done faster and more efficiently.
Getting a smooth, paint-ready wall is about patience, practice, and a good eye. If you've got the time and the desire to learn, go for it on a small project. But don't be afraid to admit when a job is bigger than your current skill set. That's just being smart, isn't it?